Monthly Archives

3 Articles

Using Asterisk to Control your Arduino

Posted on
Using Asterisk to Control your Arduino

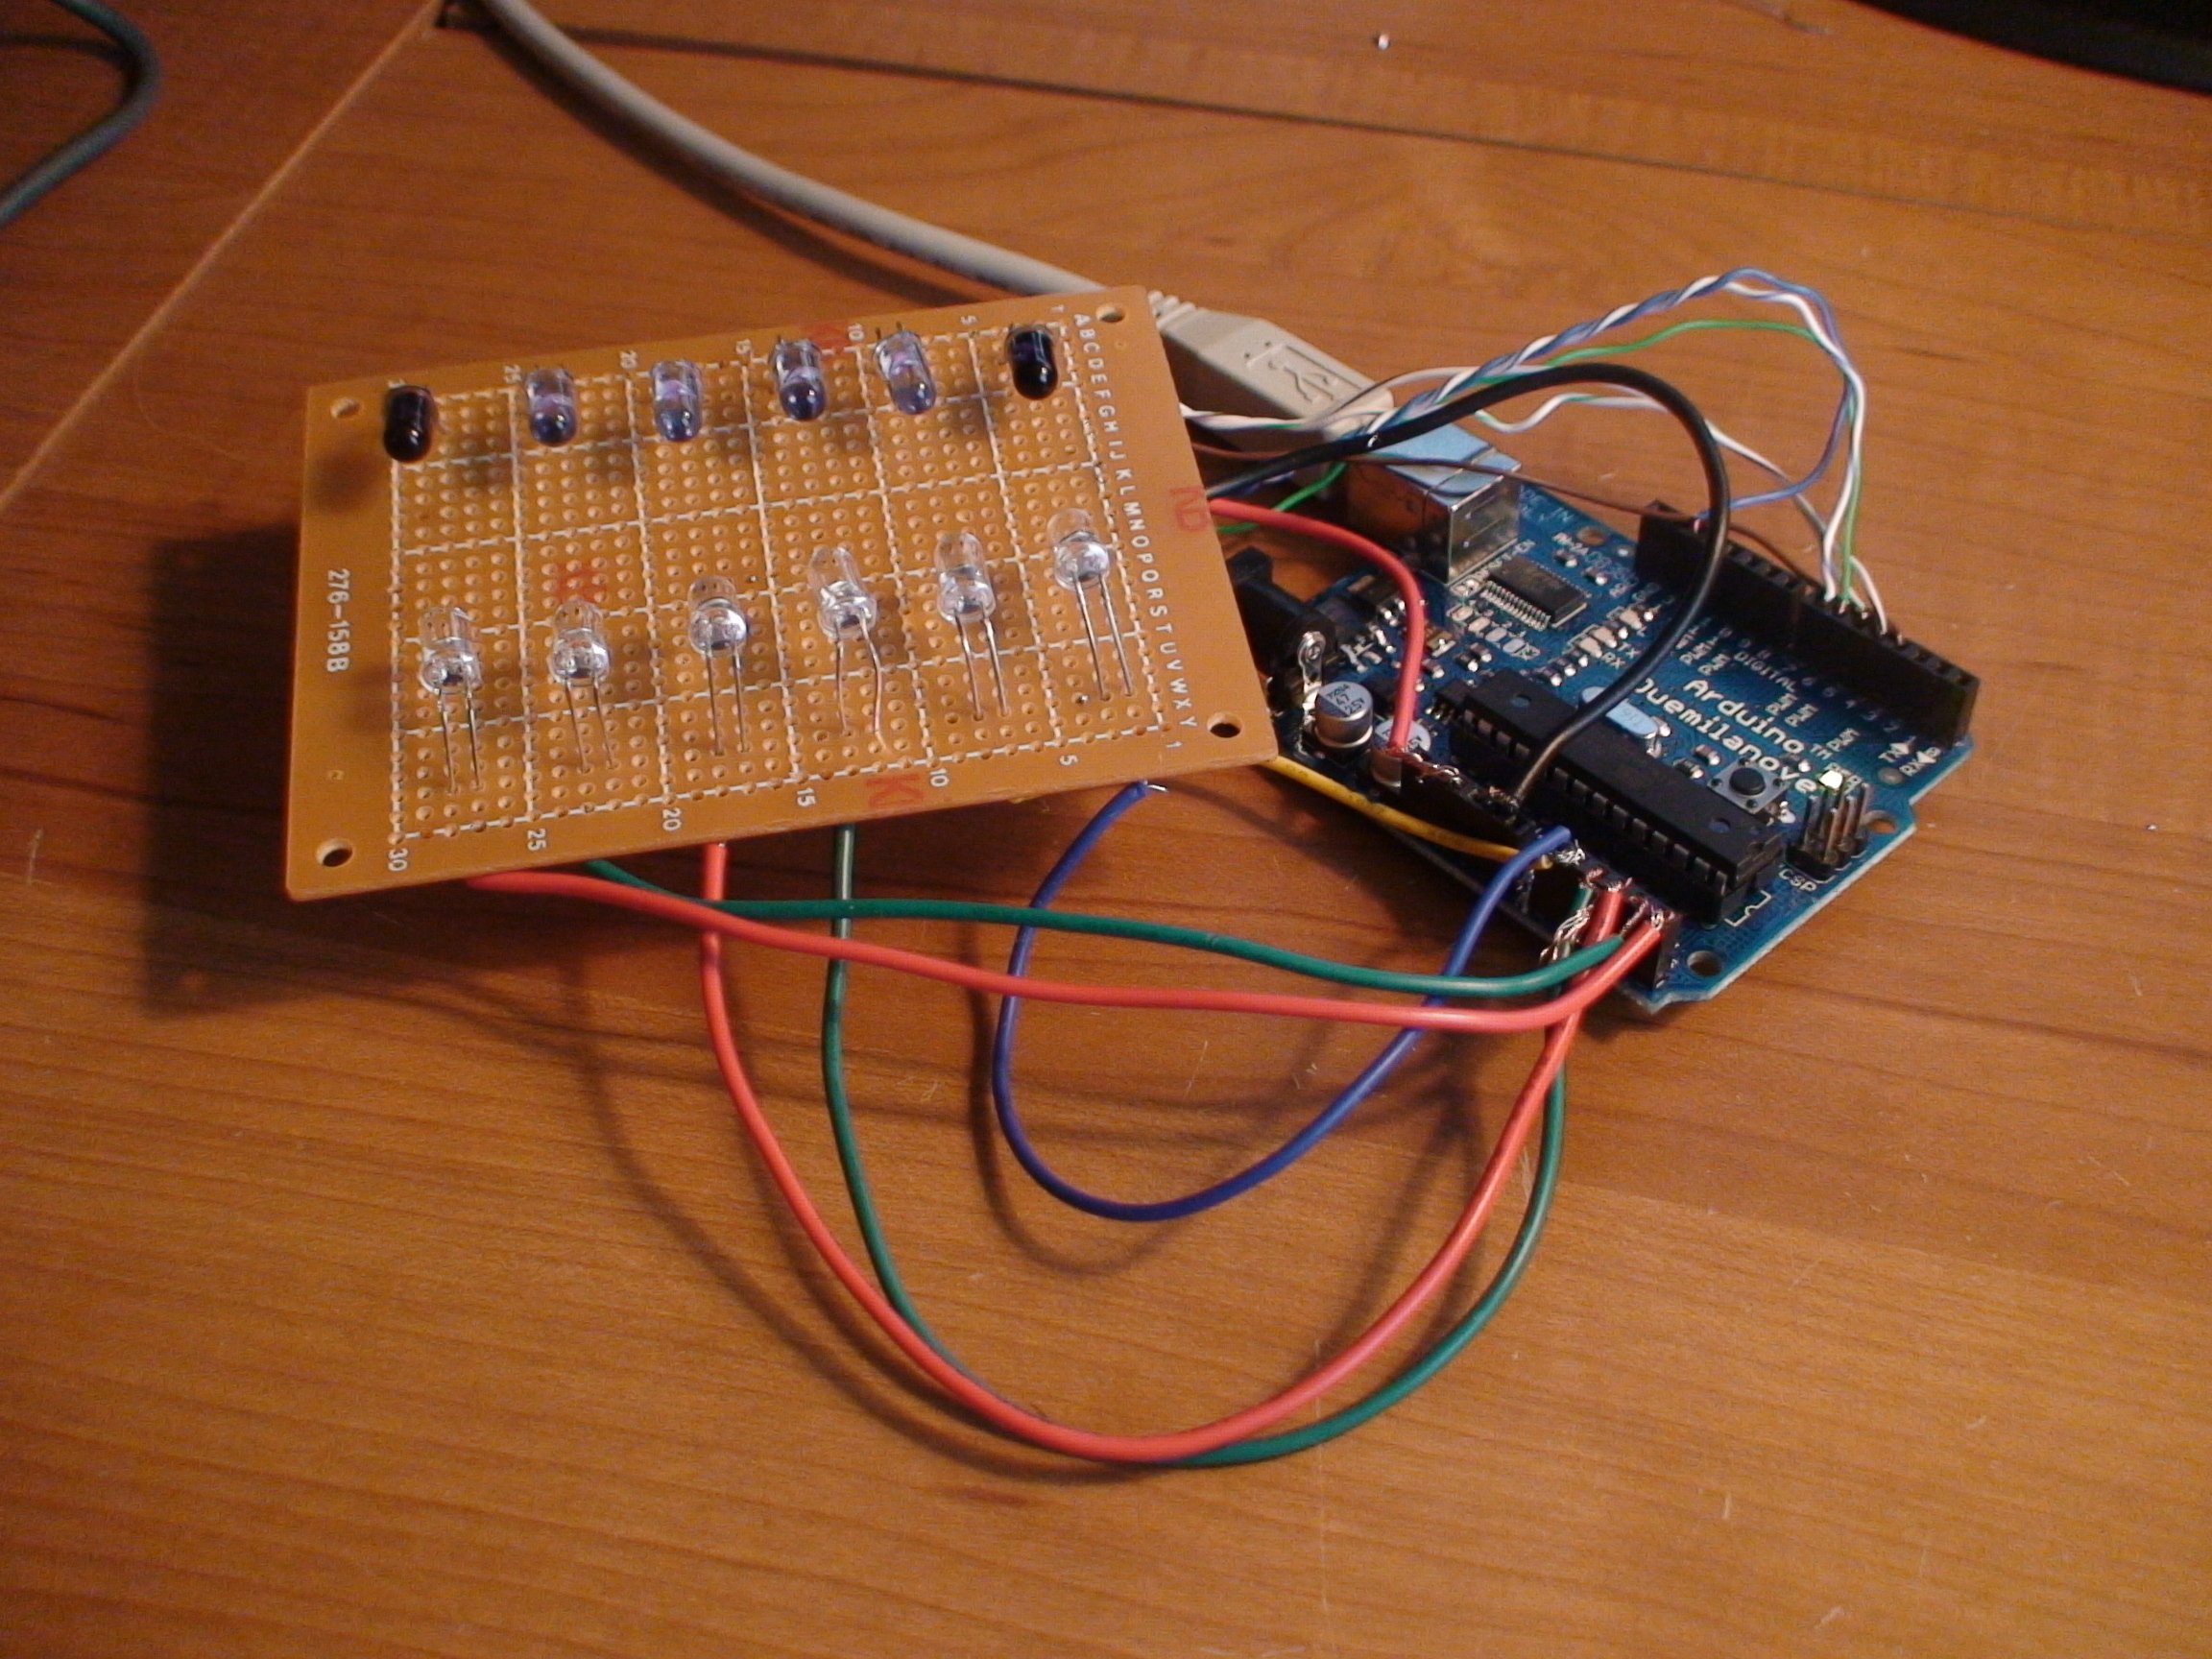
Being an avid Asterisk admin and a novice AGI coder, I decided that it would be cool to try my hand at using Asterisk to control my Arduino over ethernet. Upon googling similar projects I came across Kate Hartman’s page on doing just that with an Arduino connected via an XPort module. Well, I have the Adafruit ethernet shield with a WIZnet module, but I decided to give it a try anyway. The first thing I noticed was the Arduino code appeared to be communicating with the XPort module via serial communication. This is a bit of a problem as the WIZnet module needs to make use of the ethernet library in Arduino IDE. So I threw together a little test environment with an LED connected to pin 4 and plugged in my ethernet shield to give the code a shot. Needless to say, it didn’t work straight out of the box…so I’ve made a few minor modifications which you can find attached to this post. I also found that Kate’s Asterisk AGI code was a bit dusty, being written perhaps for an older version of Asterisk than what I have (1.4.21.2), so I made a few modifications and was able to get it up and running. This should come in REALLY handy for some of the projects I’ve got waiting in the wings (ArduinOIL). Here’s how to get it up and running.

    1. Download source code
    2. Upload the attached sketch to your Arduino
    3. Copy the arduino_control.php file into your agi-bin (usually /var/lib/asterisk/agi-bin) and edit the configurable options to match your setup. Make sure you change the permissions on the file with “chown asterisk:asterisk arduino_control.php” and also make it executable with “chmod +x arduino_control.php”
    4. Edit your dial plan (I use freePBX so the file is /etc/asterisk/extensions_custom.conf, otherwise it would be /etc/asterisk/extensions.conf) to include the following lines (you can change the 999 to whatever extension you prefer to dial to get control of your arduino):

; Arduino Control
exten => 999,1,Answer
exten => 999,2,AGI(arduino_control.php)
exten => 999,3,Hangup


  1. Restart asterisk services with “amportal restart”
  2. Hack the code apart and make it do something awesome!

“It looks like a bomb”

Posted on
“It looks like a bomb”

A month ago, my younger brother-in-law asked me to help him with a science project that would get him some serious extra credit (over achievers!). The assignment was to create a working seismometer. Sounds like a job for the almighty Arduino, doesn’t it?! We asked the teacher and she answered with an enthusiastic “YES!” I thought it would be a good opportunity to introduce him into the world of electronics and maybe even peak his interest…so I ordered the parts and last night, we started to build.

We finally had the breadboard / sketch code worked out, and started the physical mount/build process last night. Below is what we came up with…we call it “Seismoduino”. At present, there are 2 “modes”, meter mode and graph mode. In meter mode it takes the readings from the ADXL322 accelorometer and feeds them to our little array of LEDs which display the readings as a meter. In graph mode, the information is sent to the COM port and graphed by some Processing 1.0 code. We’re still working out the kinks and features, but should be finished soon. Once we’re ready there will be some more (better) pictures and even some video…

Arduinoil

Posted on
Arduinoil

Testing iR sensor configuration on proto board

As with most projects, my most recent project was born out of an inconvenience, an an empty wallet, and an idea.

The inconvenience: walking outside in sub-zero temperatures to check my fuel oil gauge. I know it’s lame and I’m lazy, but there’s something annoying about not having the information at my finger tips (ie. the internet) no matter where I am.

The empty wallet: checking….yep…still empty.

The idea: to be able to read the information from my current oil gauge and feed it to a web-enabled service so I can not only check the current level, but have stats and trends available from anywhere in the world.

So far I have the general process all figured out. A series of infrared emitters and sensors will span the oil gauge “tube” and scan for the indicator. A server will periodically query my ethernet-enabled arduino to get the reading of all the sensors and return a percentage value. These value will then be stored in a MySQL database and processed accordingly with some PHP code.

At this point I’ve been able to get the sensors all wired up and tested. Everything seems to be working quite well. I received my ethernet shield last week and started playing with that. I’ve got a bit more tinkering to do with that before starting the build of the actual sensor enclosure. I’ll post updates as I progress.